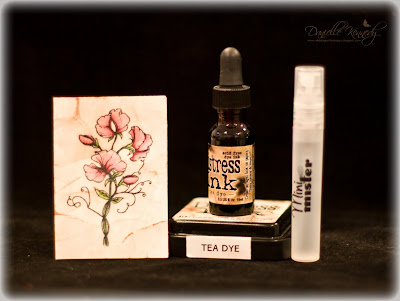
So here we have Distress Ink in Tea Dye, a re-inker and a pad, and a Mini Mister filled with water. I also use a disposable rectangle aluminum pan.
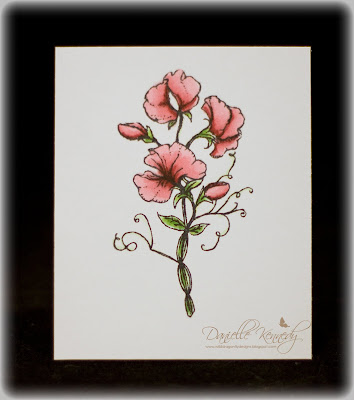
First I stamped my image with Memento Tuxedo Black dye ink (waterproof!) on Flourishes Classic White Card Stock and colored with Copic markers.
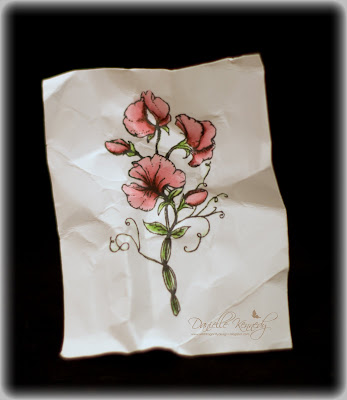
Next I crumpled it up! Yes, I said I crumpled it up. Go ahead...you can do it! Done? Not so bad, right? Scary yes, but it felt kinda good...I know it did.
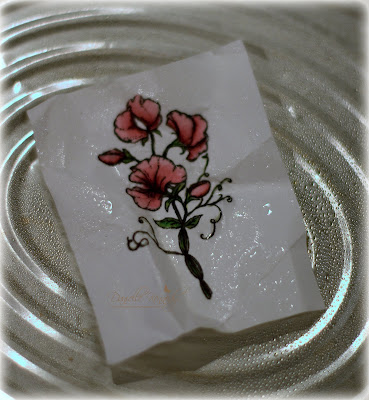
Now pull out that pan I mentioned and place the image in the center and give it a good misting with water. And I mean good. I don't want your paper to be completely limp and fall apart, but you want the water to start soaking in so that the next step will flow easily. You can kind of see that there are tiny puddles in the folds of my paper.
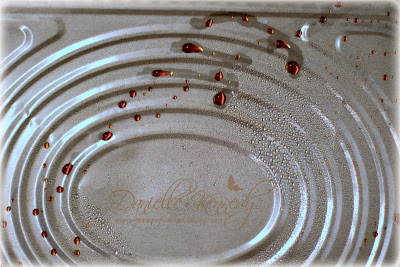
Okay, put the image aside just for a minute while you add a couple of drops of ink to the pan. Now mist those drops really well and swirl the pan around until you see blobs of diluted color like in the picture below.
This is a small image I am using. I have been known to add lots more ink and water, mixing colors, and really soaking my image. Even dropping the ink directly onto the paper and letting it run. That's really messy-but the results are gorgeous!
Okay, now if you thought crumpling was scary just see what you have to do now! Take the image and smoosh it face down into the ink puddles. Yes, smoosh and swirl, and keep picking it up and turning it over to make sure you have sufficient ink coverage. You might like the whole thing covered or just some of the image. I like to cover the whole thing! Add more ink if necessary until you like the results.
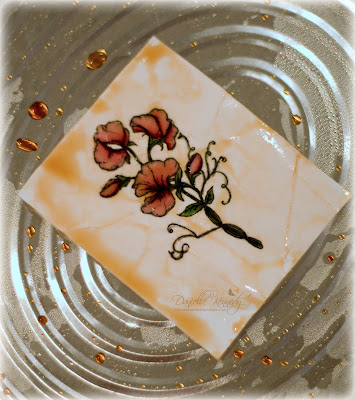
Now you just need to let the image dry. Or if you are like me and impatient, then you can hit it with the heat gun. I usually do that and then re-ink if I want to deepen the color. This is what it looks like dry.
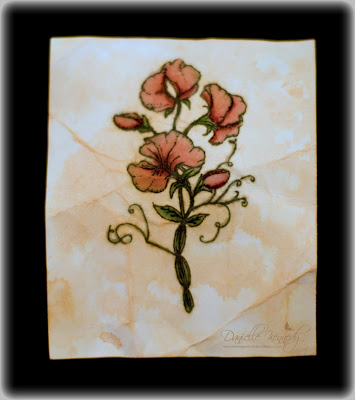
Okay, just one more scary step, I promise! I slightly crumple the image again, it will fold in all the same creases originally created, and then I lightly swipe the ink pad over the top just highlighting the folds.
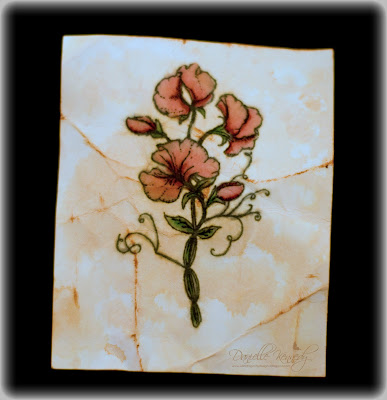
Now you are ready to use your image on a card or project. This is what mine looks like all finished.
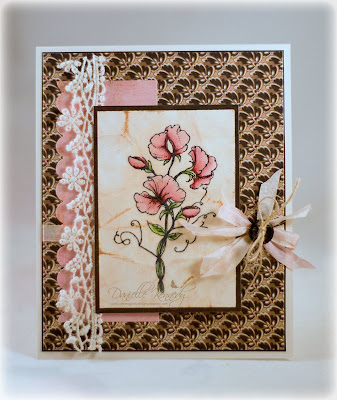
This is really fun and the result are never the same twice! Give it a try!




25 comments:
This is beautiful and I have some of those reinkers. Thanks for the idea!!!
WOW . . loving this tutorial. Am off to have a play now.
This card is beautiful.
i love this minimister.
Annette
Wnderful tutorial, BEAUTIFUL results. TFS, happy Sunday, hugs...
This is so pretty, I want to try it but I will have to get distress ink first. ID just love the results!
GREAT tutorial, girl friend! And I love that look! I've never tried it but you've inspired me!
Beautiful! Oh I like how this turned out and yes very scary mentioning the water. lol But end result beautiful!
So pretty! Love the results and will one day try this.
Wow, Danielle, this is amazing! Great tutorial and pretty effect!
You Go Girl. Great Tutorial!!!!! I am going to be soooooo busy with stamping this afternoon!!!! I can't wait.
Absolutely Lovely! This is one of my very favorite techniques! It is just too beautiful to care how messy the process besides it is so fun.
I need some re-inkers!!!! I love the technique and results!!
Do you think I could ditch hubby on Valentine's Day to sneak and try this technique out??? LOL! Just kiddin'! I am going to give this a whirl this week! What a fun technique Danielle and a BEAUTIFUL card!
Beautiful - maybe I will get time to play on wednesday....
This is a wonderful and inspiring tutorial. Great job and thank for being our Limelight designer.
Jan Marie
1flourish
Beautiful, absolutely beautiful! Thank you for sharing this with us.
Blessings, Donna
This is awesome....I will have to buy some ink and then get it a try...
Gorgeous! I can't wait to give it a try... and you are great with your tutorials, too!
Beautiful job, Danielle!
Wonderful tutorial!! I think I might be able to crumple an image if I could be assured of getting a beautiful result like this!!
This is definatly one tutorial I plan on posting on my blog. This is just too pretty not to share with others, thanx...
I REALLY LOVE that you showed me/us this technique. The art piece is just WONDERFUL this way! And, I LOVED how you use such GREAT descriptive words...words I can really understand...CRUMPLE, SWISH, SWIRL...GREAT!
I am EXCITED about your Tuesday challenge! It will be new to me.
I am eager, however.
Thanks for sharing your ART and your KNOWLEDGE!
He IS Able,
Traci S.
(You can find me at SCS!)
Oh, my word, how beautiful can it be? Fabulous technique. Just the right amount of distressing. Scary to do that to an image you spent a lot of time coloring, but you make it look so fail safe. An utterly gorgeous card, Danielle!
Wow, this was great, and how lovely and delicate!!!
How gorgeous, and what a cool technique! Thanks so much for the tutorial.
Post a Comment